Everything You Need to Know to Start Beaded Jewelry Making
Why Start with Beaded Jewelry?
So, you’ve decided to dive into the world of jewelry making—how exciting! Whether you’re looking for a new creative hobby, a way to make personalized gifts, or even start a small business, beaded jewelry is a great place to begin. It’s accessible, versatile, and a lot of fun! Here’s everything you need to know to get started with your first beaded jewelry project.
Step 1:
Gather Essential Jewelry Making Tools and Materials
The first step to any craft project is gathering the right tools and materials. For beaded jewelry, you don’t need much, which makes it an excellent starting point for beginners.
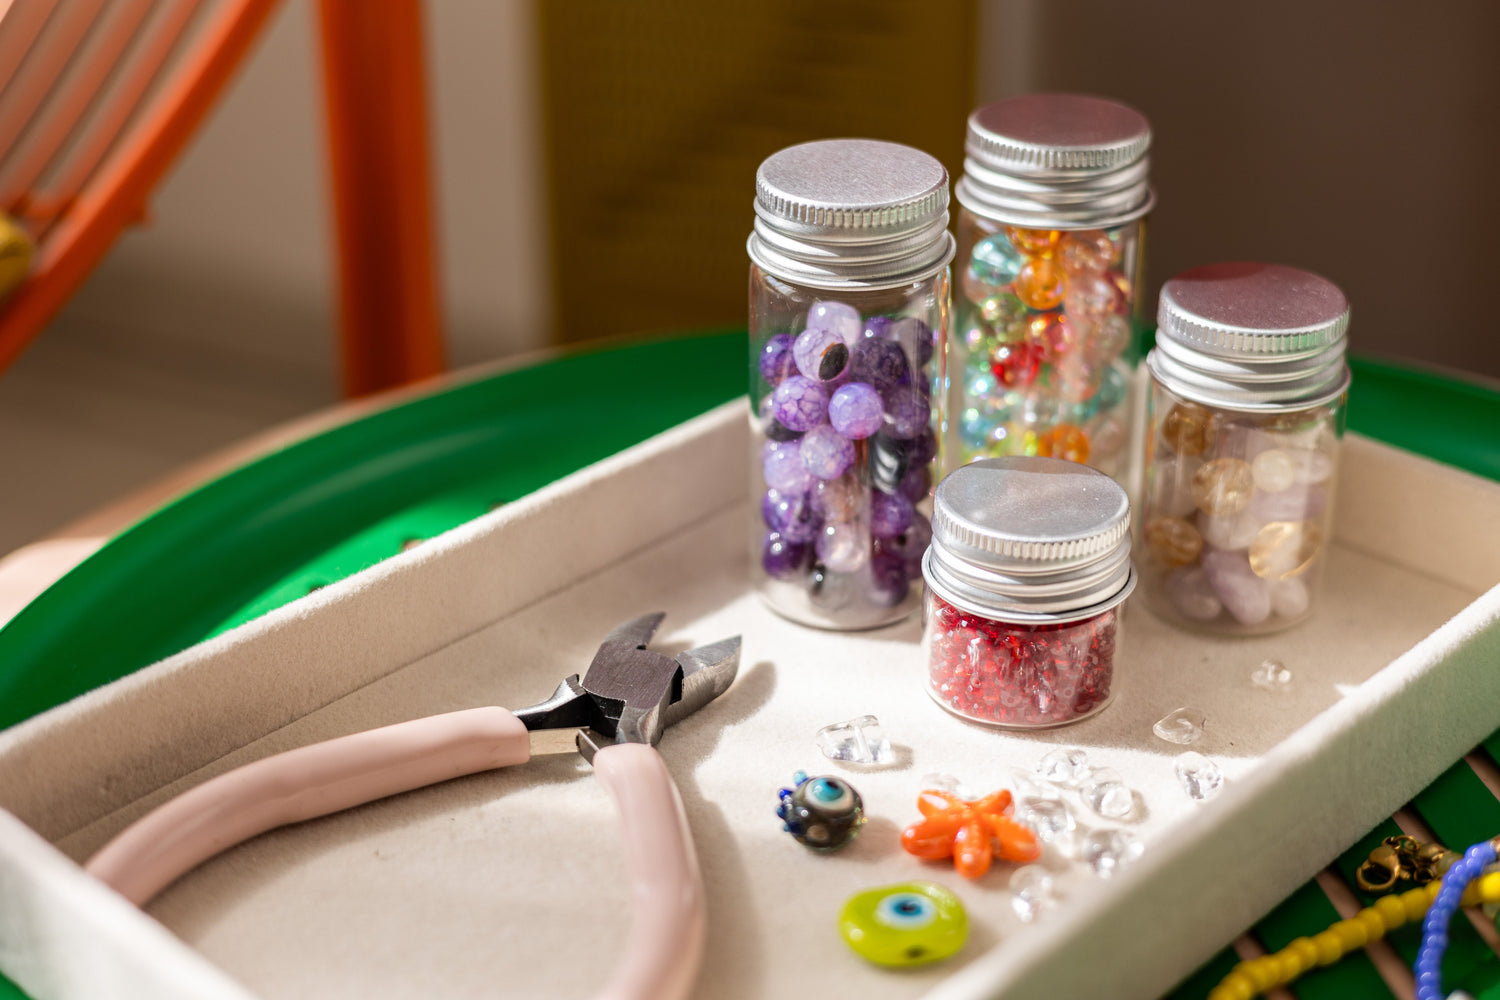
Tools Needed for Beaded Jewelry Making:
- Round nose pliers: For making loops.
- Flat nose pliers: To open and close jump rings.
- Wire cutters: For cutting wire or string.
- Beading bowl: To pour your beads into and keep them from rolling away while you work.

Choosing the Right Beads and Materials
- Beads: Choose from glass, wooden, gemstone, or acrylic beads depending on the style you want.
Nacre tip: for the most chic results, we recommend adding freshwater pearls to your masterpiece
- Jewelry wire or thread: Elastic cord for bracelets, flexible wire for necklaces, or stretchable string.
- Clasps and jump rings: Essential for finishing your bracelets and necklaces.
- Crimp beads: Used to secure your designs, especially for necklaces.

Step 2:
Start with a Simple Project
It’s tempting to jump into complex designs, but starting small will help you build confidence and master basic skills. A great first project is a beaded bracelet. It’s straightforward, and once you learn how to string beads and secure the ends, you’ll have the foundational skills to build upon.
How to Make a Simple Beaded Bracelet:
1. Measure Your Wrist: Measure your wrist size using a measuring tape, and then add an inch for comfort. This is how long you’ll cut your jewelry thread.
2. String the Beads: Place the beads on a beading mat to plan your design. Once you’re happy with the layout, start stringing them onto your thread or wire.
3. Add a Clasp: Once you’ve finished stringing the beads, add a crimp bead to one end, followed by a clasp. Use flat nose pliers to crimp the bead and hold the clasp in place. Repeat on the other side to secure your bracelet.
4. Trim the Excess: Use your wire cutters to trim any excess wire or thread. Make sure everything is secure, and you're done!
Step 3:
Show Off Your Creations
Don’t forget to take pride in your work! Wear your handmade jewelry with confidence or give them as personalized gifts to friends and family. You can even consider selling your pieces at local markets or online.

Step 4:
Keep Learning and Experimenting with Jewelry Making
Jewelry making is a skill that improves over time. The more you practice, the better you’ll become at creating complex designs. There are plenty of online tutorials, YouTube videos, and books dedicated to jewelry making that can teach you advanced techniques like wire wrapping, bead weaving, and incorporating gemstones.
Enjoy the Process and Start Your Jewelry-Making Journey Today!
Starting your jewelry-making journey is an exciting adventure that combines creativity, skill, and fun. Beaded jewelry is an ideal entry point because it’s accessible to beginners and offers endless possibilities for design. Remember, the key is to enjoy the process—don’t worry about perfection. As you gain experience, you’ll find your unique style and creative voice in the world of jewelry making. We can help you trough the first steps at a Workshop
So, what are you waiting for? Gather your beads, grab your tools, and let your creativity shine!

Want to get started right away?
Our DIY beaded jewelry kits are coming soon at Nacre Creative, where we provide everything you need to bring your vision to life, until then check out our upcoming jewelry workshops.

